Back to the Roots Mushroom Kit: A Comprehensive Guide
Embark on a fascinating journey into the world of fungi with this guide! Discover how to cultivate delicious‚ organic pearl oyster mushrooms
at home‚ utilizing the innovative Back to the Roots kit‚ and enjoy fresh harvests.
Understanding the Back to the Roots Kit
The Back to the Roots Mushroom Grow Kit offers a remarkably simple and rewarding introduction to the fascinating world of mycology‚ bringing the farm-to-table experience directly into your home. This kit isn’t just about growing mushrooms; it’s about understanding a sustainable ecosystem in miniature.
Each kit contains an organic‚ plant-based substrate already infused with pearl oyster mushroom spawn – essentially‚ the ‘seeds’ of the mushroom. This pre-inoculated substrate eliminates the need for complex preparation‚ making it ideal for beginners. The kit champions organic and non-GMO practices‚ ensuring a healthy and natural growing process.
Beyond the cultivation itself‚ Back to the Roots emphasizes education. A Discovery Booklet provides detailed instructions‚ delicious recipes‚ and engaging activities. Furthermore‚ a free downloadable curriculum is available‚ making it a fantastic learning tool for children and adults alike. The “GrowOneGiveOne” initiative adds a charitable component‚ donating a kit to a classroom with each shared photo.
What’s Included in the Box?
Opening your Back to the Roots Mushroom Kit reveals everything you need to begin your cultivation journey. The core component is the substrate – an organic‚ plant-based soil block already teeming with pearl oyster mushroom spawn‚ ready to fruit. You’ll also find a convenient spray mister‚ crucial for maintaining optimal humidity levels throughout the growing process.
A detailed Discovery Booklet is included‚ serving as your comprehensive guide. It provides step-by-step instructions for setup‚ care‚ and harvesting‚ alongside a collection of inspiring recipes to enjoy your bounty. The kit also unlocks access to a FREE downloadable curriculum‚ enriching the experience with educational content about mushroom science.
Rest assured‚ the kit is proudly made in the USA and backed by a 100% Guaranteed to Grow promise – if your kit doesn’t flourish as expected‚ a replacement will be provided. Essentially‚ it’s a complete‚ self-contained ecosystem designed for success!
The 10-Day Growth Promise
Back to the Roots confidently boasts a 10-day growth promise‚ a testament to the kit’s carefully crafted design and the vigorous nature of the pearl oyster mushroom spawn. Within just ten days of initial setup‚ you can anticipate witnessing the first delicate pins – the nascent beginnings of your edible mushrooms!
This rapid growth timeline isn’t a mere marketing claim; it’s achievable with consistent attention to the kit’s basic needs: adequate hydration‚ appropriate light exposure‚ and maintained humidity. The kit’s organic substrate provides a nutrient-rich environment‚ accelerating the mycelial network’s expansion and subsequent fruiting.
However‚ remember that environmental factors can influence the exact timeframe. While 10 days is typical‚ slight variations are normal. The key is diligent observation and adherence to the provided instructions‚ ensuring a rewarding and relatively quick harvest experience.
Initial Setup & First Flush
Begin your mushroom journey by preparing the grow box‚ hydrating the substrate‚ and finding the perfect spot with indirect light and consistent temperatures for optimal growth!
Preparing the Grow Box
Unboxing your Back to the Roots kit reveals a thoughtfully designed grow box containing everything you need to start your mushroom cultivation adventure. Gently remove all components from the packaging‚ ensuring you have the mushroom block‚ spray mister‚ and the included discovery booklet.
Before the initial soaking‚ carefully inspect the box for any damage. The mushroom block itself is composed of organic‚ plant-based soil infused with mushroom spawn – this is where the magic happens!
No additional preparation of the box is required; it’s designed to be used as-is. The kit is proudly made in the USA‚ emphasizing quality and sustainability.
Keep the discovery booklet handy‚ as it contains valuable information regarding the entire growing process‚ from initial setup to harvesting and even delicious recipes to enjoy your bounty!
Hydration: The First Soaking
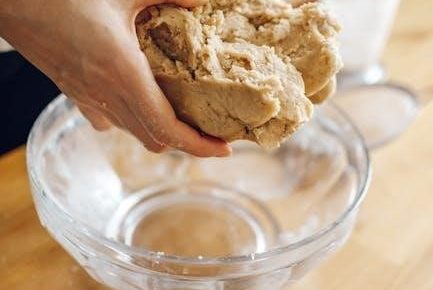
The first soaking is crucial for activating the mushroom spawn within the block. Carefully open the bag containing the mushroom block‚ and gently place it into a clean container or directly into the grow box itself.
Fill the container with cool‚ clean water until the mushroom block is fully submerged. Allow the block to soak for approximately 10-12 hours – overnight is ideal. This process fully hydrates the substrate‚ providing the necessary moisture for mycelial growth.
Avoid using warm or hot water‚ as this can damage the delicate mushroom spawn. After soaking‚ gently remove the block from the water‚ allowing any excess water to drain off. Do not rinse the block‚ as this can wash away beneficial nutrients.
This initial hydration kickstarts the mushroom growing process‚ setting the stage for the exciting pinning and fruiting stages to come!
Optimal Placement: Light & Temperature
Finding the right spot is key to successful mushroom growth. While pearl oyster mushrooms don’t require direct sunlight‚ they do benefit from indirect light exposure. Place your grow box in a location that receives ambient light – a windowsill with filtered light or a well-lit room is perfect.
Temperature plays a vital role; the ideal range for pearl oyster mushrooms is between 60-75°F (15-24°C). Avoid placing the kit near drafts‚ heating vents‚ or in direct sunlight‚ as these can cause temperature fluctuations.
Consistent temperatures promote healthy mycelial growth and fruiting. If light is limited‚ consider a gentle stress method‚ but it’s not compulsory. Proper placement ensures robust development and abundant harvests!
Remember‚ consistent conditions are more important than achieving the ‘perfect’ temperature; stability is paramount for optimal results.
Maintaining Humidity: Using the Spray Mister
Humidity is crucial for mushroom development‚ mimicking their natural forest environment. The included spray mister is your primary tool for maintaining optimal moisture levels within the grow box. Mist the inside of the box 2-3 times daily‚ ensuring the substrate remains consistently moist but not waterlogged.
Focus on misting the sides of the box rather than directly spraying the developing mushrooms‚ as this can cause them to bruise or rot; Observe the substrate; it should feel damp to the touch‚ similar to a wrung-out sponge.
Adjust misting frequency based on your home’s humidity levels. Drier environments will require more frequent misting. Consistent humidity encourages pinning and supports healthy mushroom growth‚ leading to a bountiful harvest!
Regular misting is a simple yet effective way to maximize your yield and enjoy fresh‚ homegrown mushrooms.
Monitoring Growth & Harvesting
Observe daily for changes! Learn to distinguish between healthy mycelium and unwanted mold‚ and watch for the exciting emergence of pins – the first signs of mushrooms!
Identifying Mycelium vs. Mold
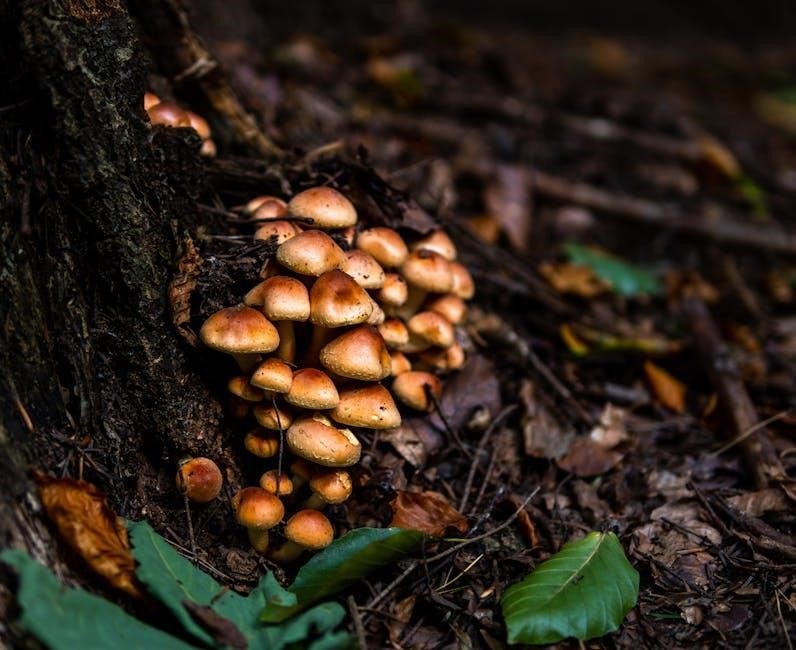
Distinguishing between beneficial mycelium and unwanted mold is crucial for a successful harvest. Mycelium‚ the vegetative part of the mushroom‚ appears as a white‚ fuzzy network spreading throughout the substrate. It’s a sign of healthy growth and is what will eventually produce your mushrooms.
Mold‚ however‚ presents differently. Look for patches of color – green‚ black‚ or grey – that are often powdery or slimy in texture. Unlike the widespread‚ thread-like structure of mycelium‚ mold tends to form isolated colonies.
If you’re unsure‚ a helpful tip from the r/mycology community on Reddit suggests placing the kit in a location with some light. This encourages mushroom growth and can help differentiate between the two. Remember‚ maintaining proper humidity is key‚ but excessive moisture can promote mold growth‚ so careful monitoring is essential.
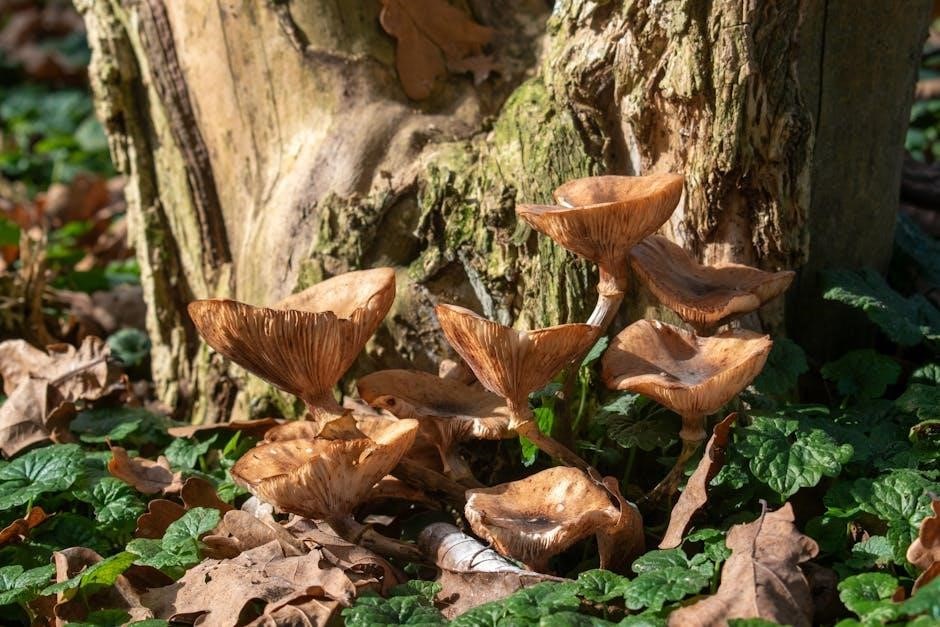
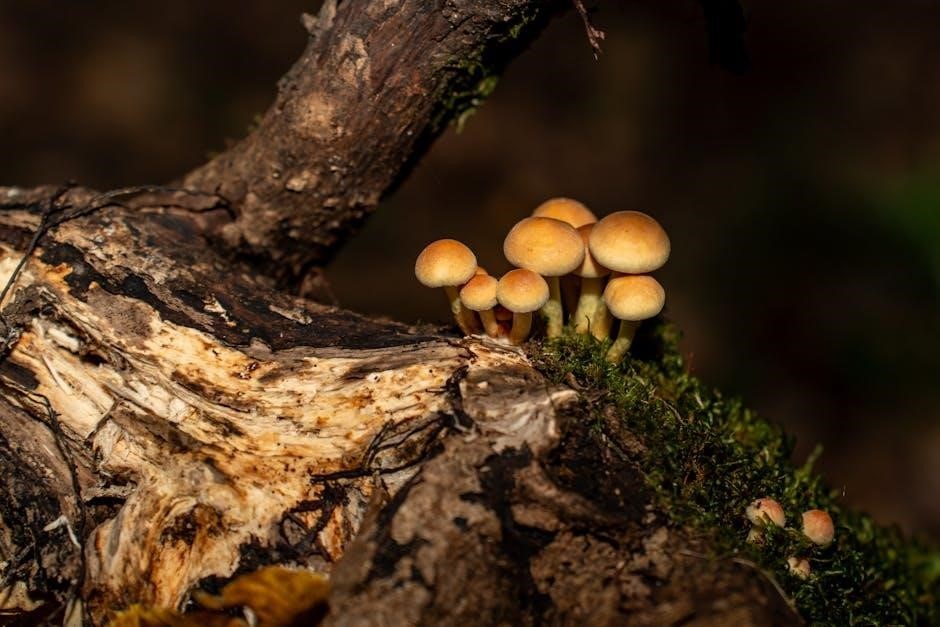
Pinning: The First Signs of Mushrooms
Pinning marks an exciting stage in your mushroom growing journey! These are the very first‚ tiny mushroom formations – resembling miniature pins – that emerge from the mycelium-covered substrate. They typically appear as small‚ white bumps‚ often clustered together.
According to discussions on Reddit’s r/mycology forum‚ pinning usually begins a few days after maintaining optimal conditions: consistent moisture and indirect light. Providing a bit of light can help direct the mushrooms’ growth.
Be patient! Pin development can take time. Avoid disturbing the kit during this phase‚ as it can stress the developing mushrooms. Maintaining high humidity is vital; continue misting regularly to encourage these pins to grow into fully formed‚ harvestable pearl oyster mushrooms.
Harvesting Your First Crop
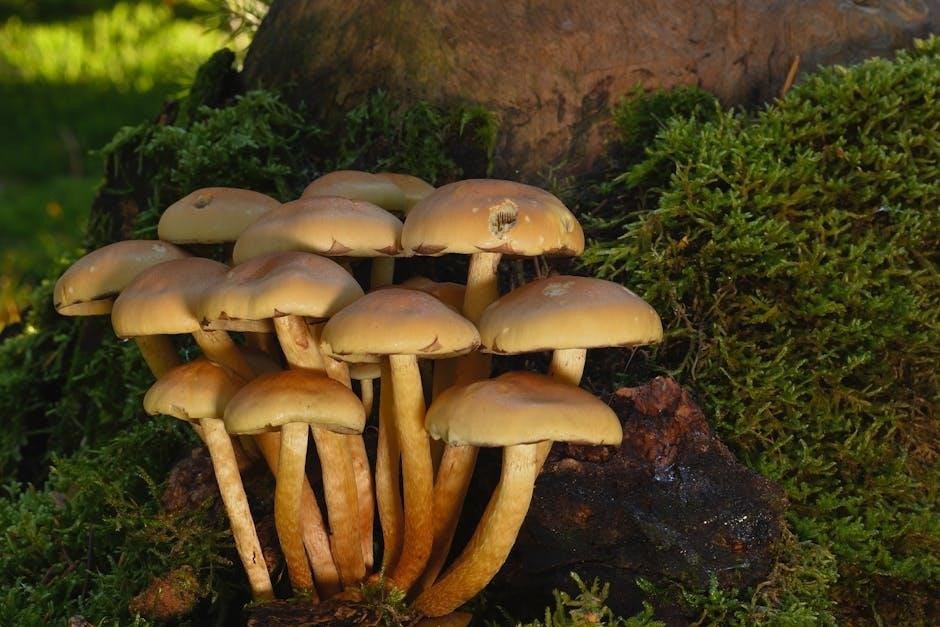
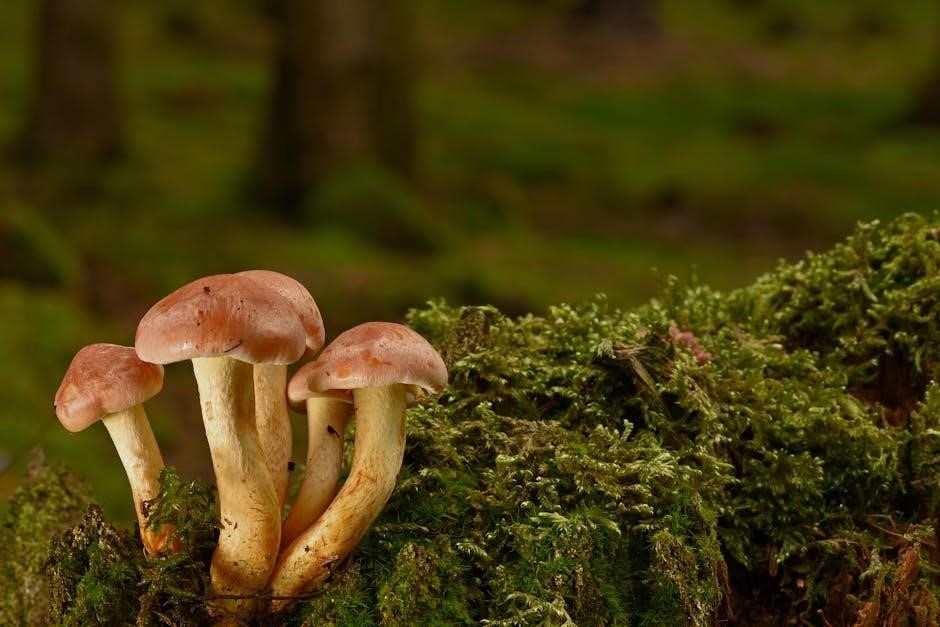
The moment you’ve been waiting for! Harvesting occurs when the pearl oyster mushrooms have fully developed – typically when the caps have flattened out and the edges begin to curl upwards. Gently twist and pull the entire cluster from the substrate‚ avoiding any damage to the remaining mycelium.
The Back to the Roots kit promises 3-4 servings per crop‚ offering a delightful culinary experience. Remember to harvest before the mushrooms release spores‚ which can appear as a powdery substance.
The included Discovery Booklet provides delicious recipes to inspire your cooking. Enjoy your fresh‚ organically grown mushrooms‚ knowing you’ve successfully completed your first flush! Don’t discard the substrate yet – the revival process awaits!
Yield Expectations: 3-4 Servings
Understanding your harvest potential is key to enjoying the Back to the Roots experience. Each crop from your kit is realistically expected to yield approximately 3-4 servings of delectable pearl oyster mushrooms. This quantity provides a satisfying addition to meals for individuals or small families.
However‚ remember that yields can vary based on environmental factors like temperature‚ humidity‚ and consistent care. Optimizing these conditions will maximize your harvest. The kit is designed to potentially produce two separate flushes‚ effectively doubling your overall mushroom output.
Don’t be discouraged if your first harvest is slightly smaller; consistent maintenance and the revival process will contribute to a more abundant second flush; Enjoy the fruits (or fungi!) of your labor!
Revival & Second Flush
Unlock continuous harvests by embracing the Back to the Roots Revival movement! Rejuvenate your spent substrate for a second flush‚ maximizing your kit’s potential.
The Back to the Roots Revival Movement
The Back to the Roots Revival isn’t just about growing mushrooms; it’s a commitment to sustainable living and reducing waste. This innovative movement encourages users to repurpose their mushroom kits after the initial harvest‚ transforming what might be considered “spent” into a resource for another flush of delicious pearl oyster mushrooms.
This philosophy aligns with a broader ecological mindset‚ demonstrating how even seemingly disposable items can have a second life. By reusing the substrate‚ you’re minimizing your environmental impact and extending the value of your Back to the Roots kit. It’s a practical lesson in the lifecycle of fungi and a tangible way to participate in a more circular economy. The movement champions the idea that growing your own food can be both rewarding and environmentally responsible‚ fostering a deeper connection to the natural world.
Preparing the Substrate for a Second Flush
To initiate a second flush‚ gently break up the colonized substrate within the grow box. This process aerates the material‚ providing essential oxygen for renewed mycelial growth and subsequent fruiting. Remove any remaining mushroom stems or undeveloped pins from the surface‚ ensuring a clean slate for the next cycle.
Next‚ rehydrate the substrate thoroughly. While avoiding oversaturation‚ aim for a moisture level similar to a wrung-out sponge. This can be achieved by gently misting the surface with water from the provided spray mister‚ or by carefully adding a small amount of water directly to the substrate. Allow the box to rest for 12-24 hours‚ allowing the substrate to fully absorb the moisture before returning to optimal growing conditions. This careful preparation is key to maximizing your yield.
Optimizing Conditions for Subsequent Growth
For a successful second flush‚ maintain consistent environmental conditions. Optimal temperature remains between 60-70°F (15-21°C). Continue providing indirect light – a windowsill is often ideal‚ but avoid direct sunlight. Crucially‚ humidity levels must remain high; regular misting with the spray mister‚ 2-3 times daily‚ is essential.
Ensure adequate ventilation to prevent CO2 buildup‚ which can hinder mushroom development. A small air exchange each day is beneficial. Monitor closely for pin formation – tiny mushroom buds – which typically appear within 7-10 days. Patience is key! Remember‚ each crop yields approximately 3-4 servings of pearl oyster mushrooms‚ and the Back to the Roots kit can potentially produce two harvests with proper care and attention to these vital conditions.

Troubleshooting Common Issues
Addressing challenges is part of the process! Learn to identify and resolve potential problems like mold‚ slow growth‚ or improper hydration for a bountiful harvest.
Addressing Mold Concerns
Mold can sometimes appear during mushroom cultivation‚ but it’s often distinguishable from healthy mycelium. Mycelium is the white‚ fuzzy growth of the mushroom itself‚ while mold typically presents as green‚ black‚ or grey patches‚ often with a different texture.
If you suspect mold‚ increased airflow is crucial. Ensure the kit isn’t in a stagnant environment. Gently mist around the affected area – avoid directly spraying the mold – as maintaining humidity is still important for the mycelium.
Minor mold spots can sometimes be outcompeted by the mycelium‚ but extensive contamination may require discarding the kit to prevent spreading. Remember‚ a healthy kit prioritizes cleanliness and proper hydration;
Prevention is key: avoid touching the substrate with dirty hands and maintain a clean growing environment. If unsure‚ consult images online comparing mycelium and mold for accurate identification.
Dealing with Slow or Stalled Growth
If your Back to the Roots kit isn’t showing significant growth within the 10-day promise period‚ don’t immediately panic! Several factors can contribute to slow or stalled development. First‚ re-evaluate the placement – ensure it receives indirect light‚ as noted in the instructions.
Temperature is also critical; ideal conditions are between 60-75°F (15-24°C). Consistent humidity is vital‚ so continue misting regularly. A “stress method‚” like briefly exposing the kit to cooler temperatures or a gentle breeze‚ can sometimes stimulate pinning.
Ensure the substrate remains adequately hydrated but isn’t waterlogged. Overwatering can suffocate the mycelium. Patience is key; sometimes‚ the kit simply needs a little more time.
If problems persist‚ contact Back to the Roots customer support‚ as their 100% Growth Guarantee ensures a replacement kit if needed.
Watering Issues: Too Much or Too Little
Maintaining proper hydration is crucial for successful mushroom growth with your Back to the Roots kit. The initial soaking is vital‚ but ongoing moisture balance is equally important. Too little water will halt mycelial growth and prevent pinning‚ resulting in a dry‚ cracked substrate.
Conversely‚ overwatering is a common pitfall. A soggy substrate lacks oxygen‚ suffocating the mycelium and creating an environment conducive to mold. Use the provided spray mister to maintain humidity‚ focusing on misting the inside of the box rather than directly saturating the substrate.
Observe the substrate closely; it should be consistently moist‚ but not dripping wet. If water pools at the bottom‚ you’ve likely overwatered. Proper ventilation also aids in regulating moisture levels.
Beyond the Kit: Expanding Your Knowledge
Delve deeper into mycology with free downloadable curriculum and explore diverse recipes utilizing your freshly grown pearl oyster mushrooms‚ enhancing your culinary skills!
Educational Resources & Curriculum
Back to the Roots goes beyond simply growing mushrooms; they are dedicated to fostering a love for science and sustainability in the next generation. Included with your kit is access to a FREE downloadable curriculum designed to engage children and students in learning about the fascinating world of mycology.
This curriculum provides age-appropriate lessons covering the lifecycle of mushrooms‚ the importance of mycelium‚ and the role fungi play in our ecosystem. Activities are designed to be hands-on and interactive‚ allowing students to observe the growth process firsthand and understand the scientific principles at play.
Teachers and parents can utilize these resources to supplement science lessons‚ create engaging classroom projects‚ or simply spark curiosity about the natural world. The curriculum aims to empower young learners with knowledge about sustainable food systems and the wonders of the fungal kingdom‚ promoting environmental awareness and responsible practices.
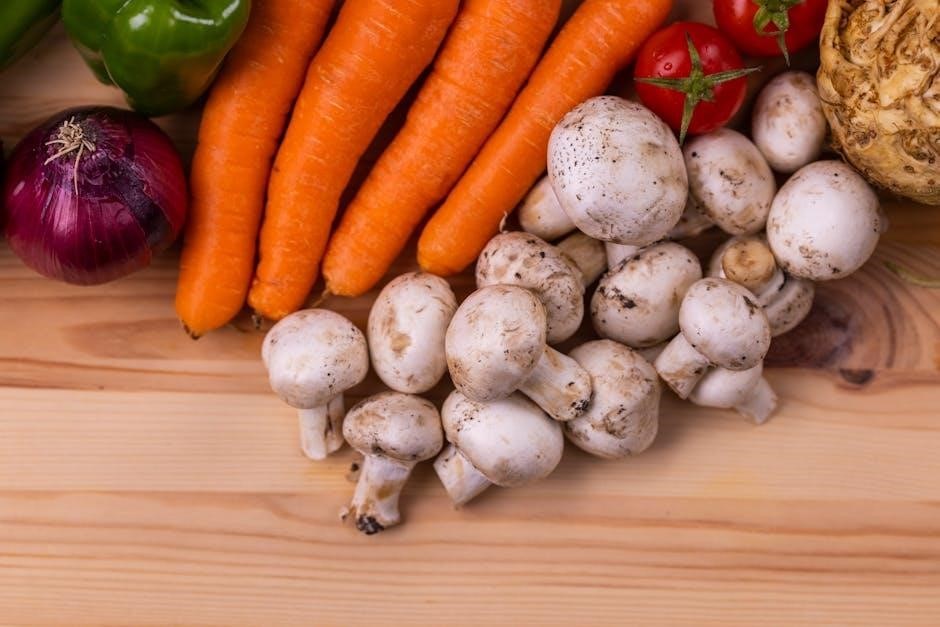
Recipes & Culinary Uses for Pearl Oyster Mushrooms
Congratulations on your harvest! Now‚ it’s time to savor the fruits (or fungi!) of your labor. Pearl oyster mushrooms boast a delicate flavor and a slightly seafood-like aroma‚ making them incredibly versatile in the kitchen. The included Discovery Booklet provides a starting point with delicious recipes‚ but the possibilities are truly endless.
These mushrooms are fantastic sautéed with garlic and butter‚ added to stir-fries for a boost of umami‚ or incorporated into creamy pasta sauces. They pair beautifully with herbs like thyme and parsley‚ and their texture holds up well in soups and stews.
Don’t be afraid to get creative! Try using them as a meat substitute in tacos or as a topping for pizza. Their mild flavor makes them adaptable to various cuisines‚ from Asian-inspired dishes to classic Italian fare. Enjoy experimenting and discovering your favorite ways to enjoy your homegrown pearl oyster mushrooms!